Apache Hadoop installation with Cloudera 5 Update
Cloudera Manager –> Support –> About
Version: Cloudera Express 5.16.2
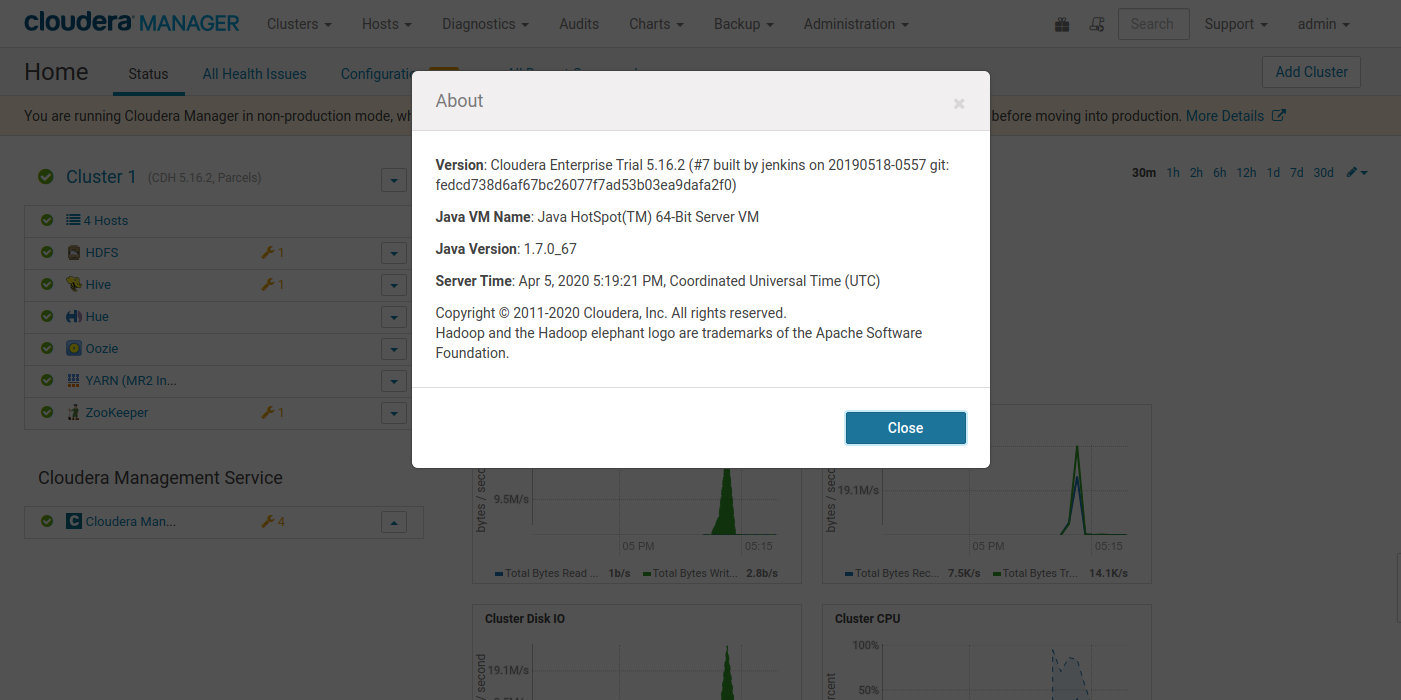
No upgrade needed
Updating Cloudera Manager & CDH (If Needed)
Cloudera Manager –> Support –> About
Version: Cloudera Express 5.13.0
Parcels –>
CDH 5 –> Download –> Distribute –> Activate
http://archive.cloudera.com/cdh5/parcels/5.16.2/
Cloudera manager –> Stop
# service cloudera-scm-server stop
# service cloudera-scm-agent stop

# vi /etc/yum.repos.d/cloudera-manager.repo

# yum clean all

# yum upgrade -y cloudera-manager-server cloudera-manager-agent cloudera-manager-maemons

# service cloudera-scm-server start
# service cloudera-scm-agent start
Cloudera manager --> Upgrade Cluster
Updating Java
# service cloudera-scm-agent stop
# service cloudera-scm-server stop


// JDK8 Installation
# wget http://archive.cloudera.com/director/redhat/7/x86_64/director/2.8.1/RPMS/x86_64/oracle-j2sdk1.8-1.8.0+update121-1.x86_64.rpm

# yum localinstal -y oracle-j2sdk1.8-1.8.0+update121-1.x86_64.rpm
# yum remove -y oracle-j2sdk1.7.x86_64 64
# vi /etc/default/cloudera-scm-server
export JAVA_HOME=/usr/java/latest
# ln -s /usr/java/jdk1.8.0_121-cloudera/ /usr/java/latest
# vi /etc/profile.d/java.sh
#### JDK8 #######################

export JAVA_HOME=/usr/java/latest
export PATH=${JAVA_HOME}/bin:$PATH

#### JDK8 #######################
# service cloudera-scm-server start
# service cloudera-scm-agent start
Cloudera manager --> Hosts --> All Hosts --> Configuration --> Java Home Directory
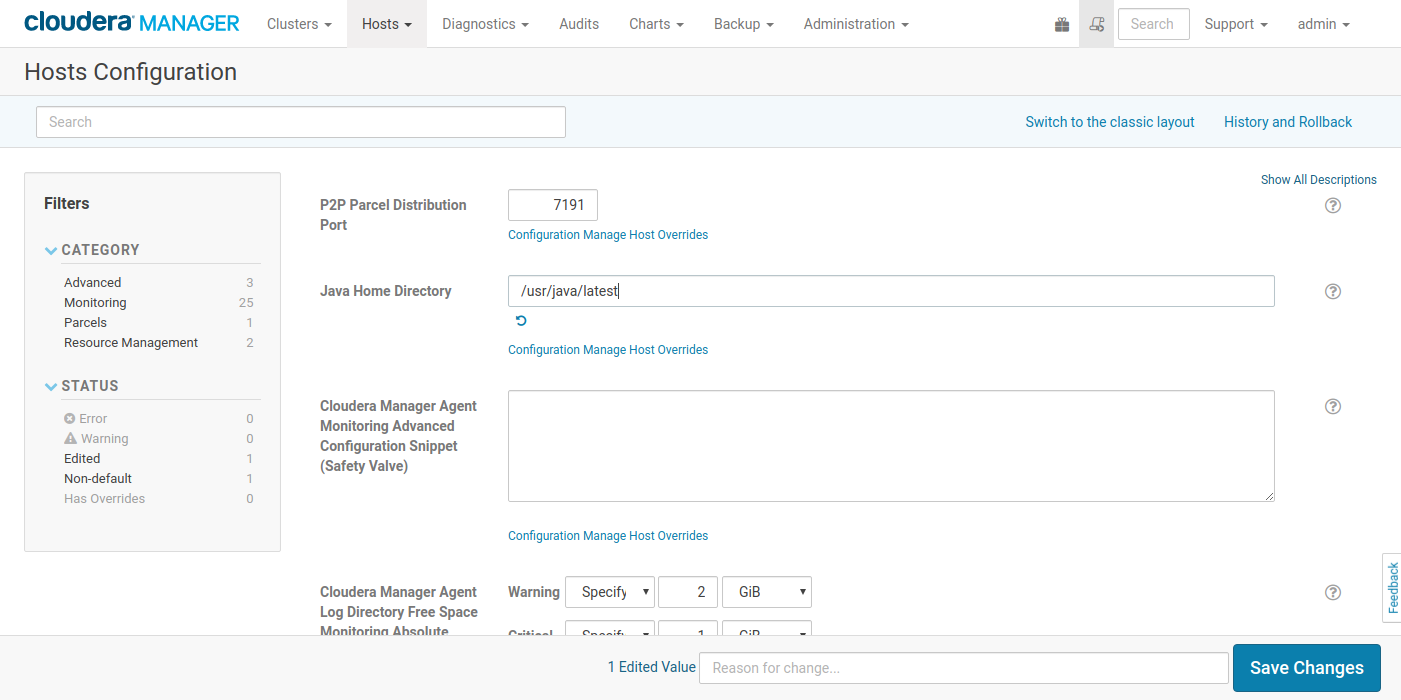
restart cloudera manager
restart cloudera services
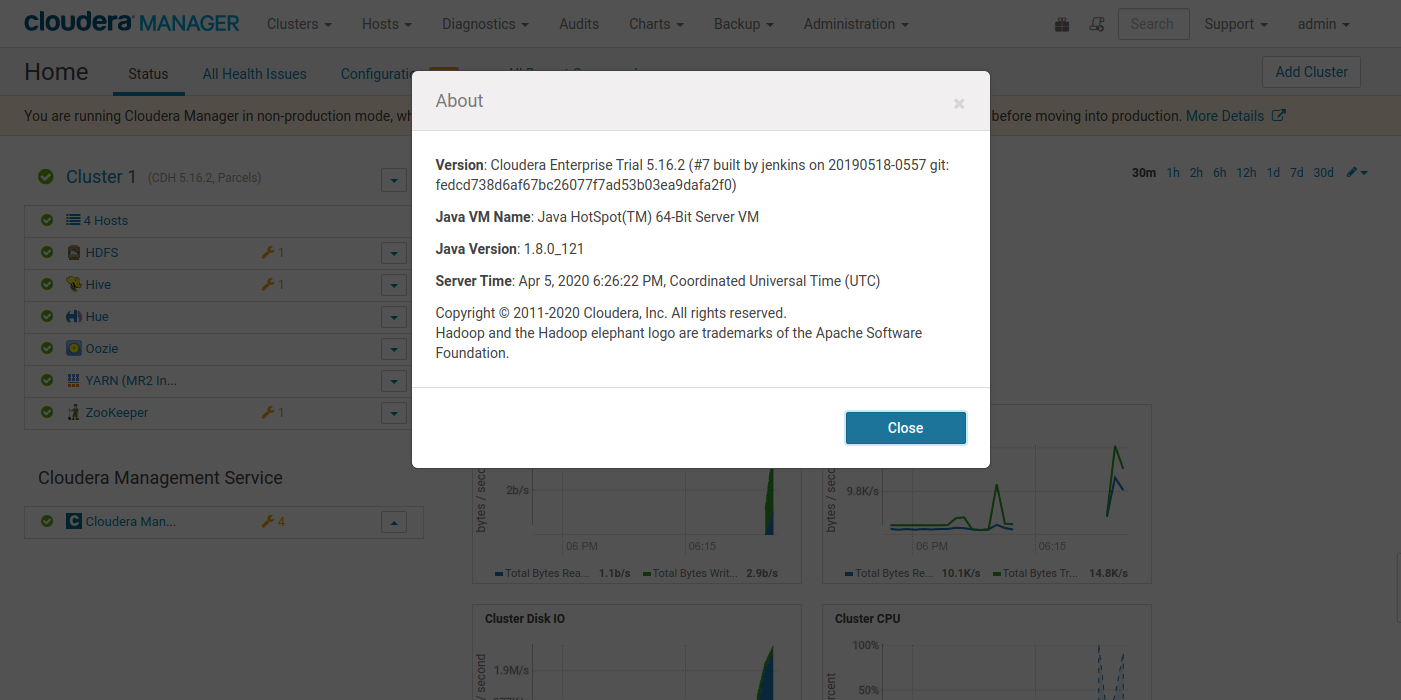
SPARK2
https://docs.cloudera.com/documentation/spark2/latest/topics/spark2_packaging.html
https://docs.cloudera.com/documentation/spark2/latest/topics/spark2_requirements.html
Administation –> Settings –> Custom Service Descriptors
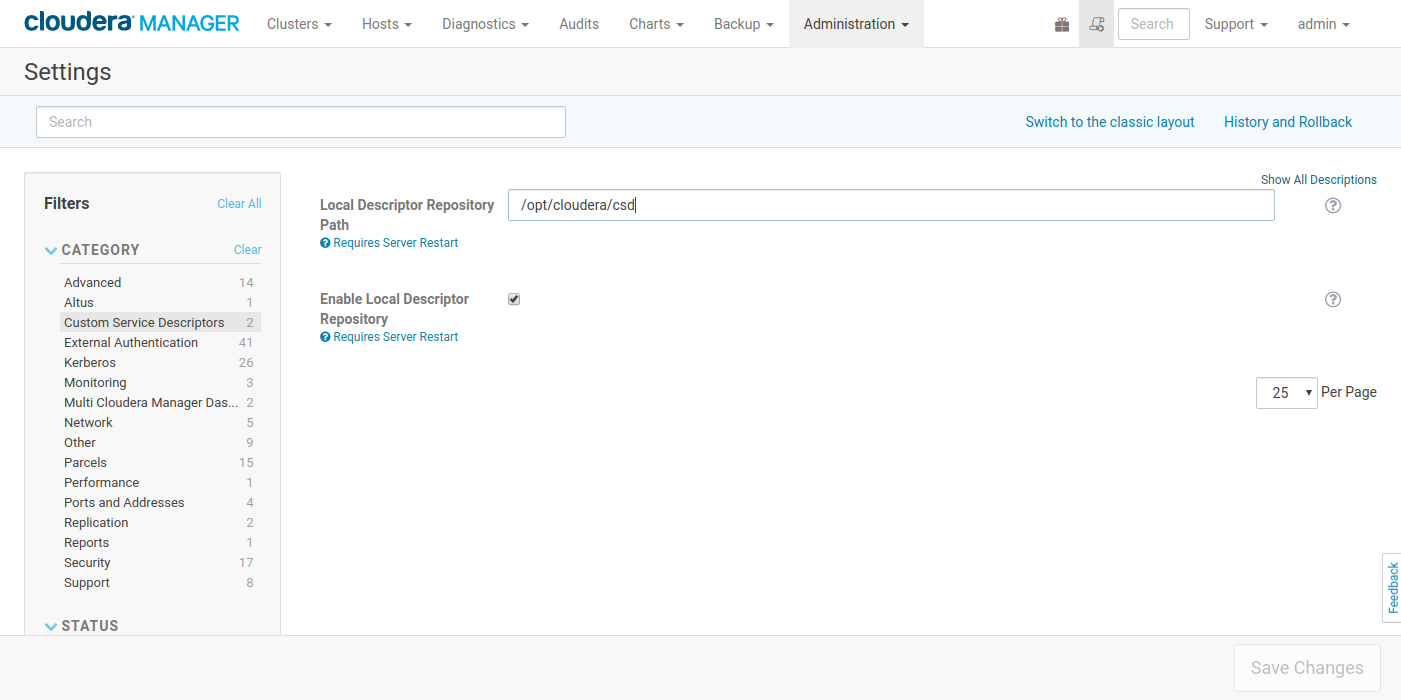
# cp SPARK2_ON_YARN-2.2.0.cloudera1.jar /opt/cloudera/csd
# chown cloudera-scm:cloudera-scm /opt/cloudera/csd/SPARK2_ON_YARN-2.2.0.cloudera1.jar
# chmod 644 /opt/cloudera/csd/SPARK2_ON_YARN-2.2.0.cloudera1.jar
# service cloudera-scm-server restart
Cloudera Management -> restart
Cloudera Management --> parcels --> Configuration --> Add

http://archive.cloudera.com/spark2/parcels/2.4.0.cloudera2/
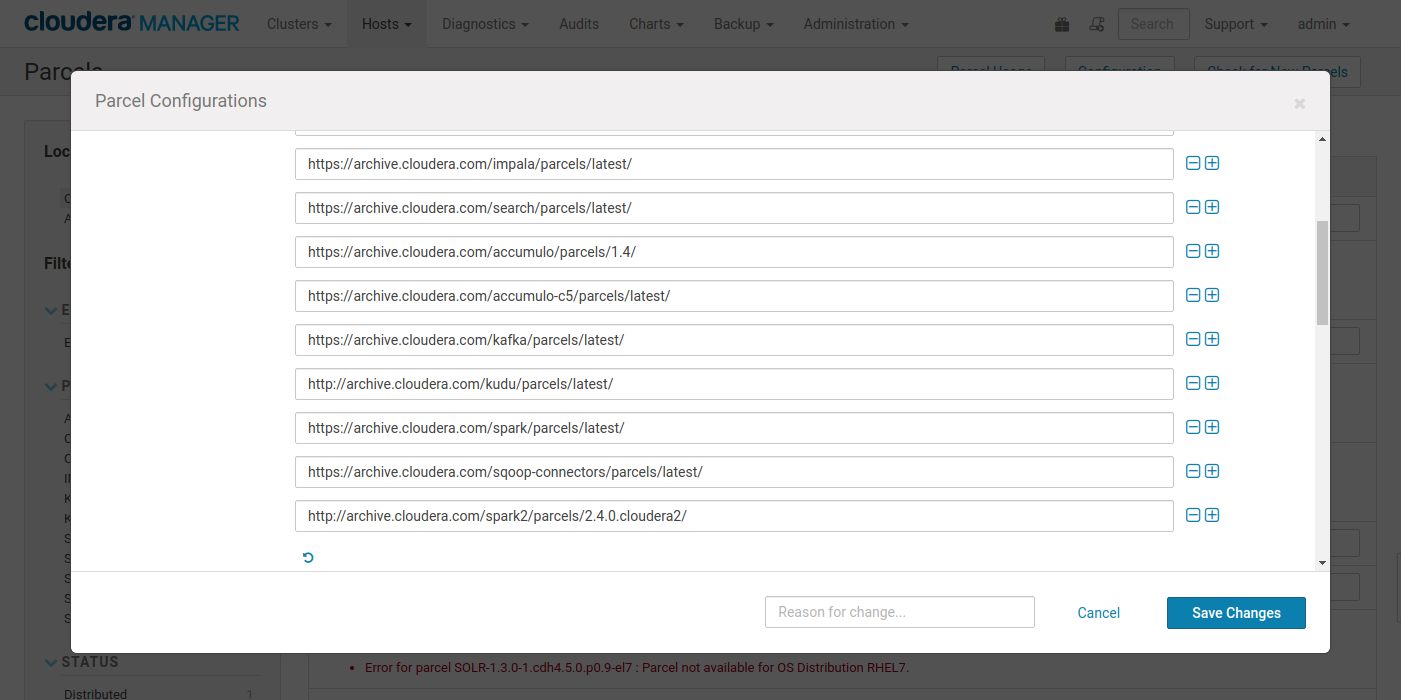
Save Changes
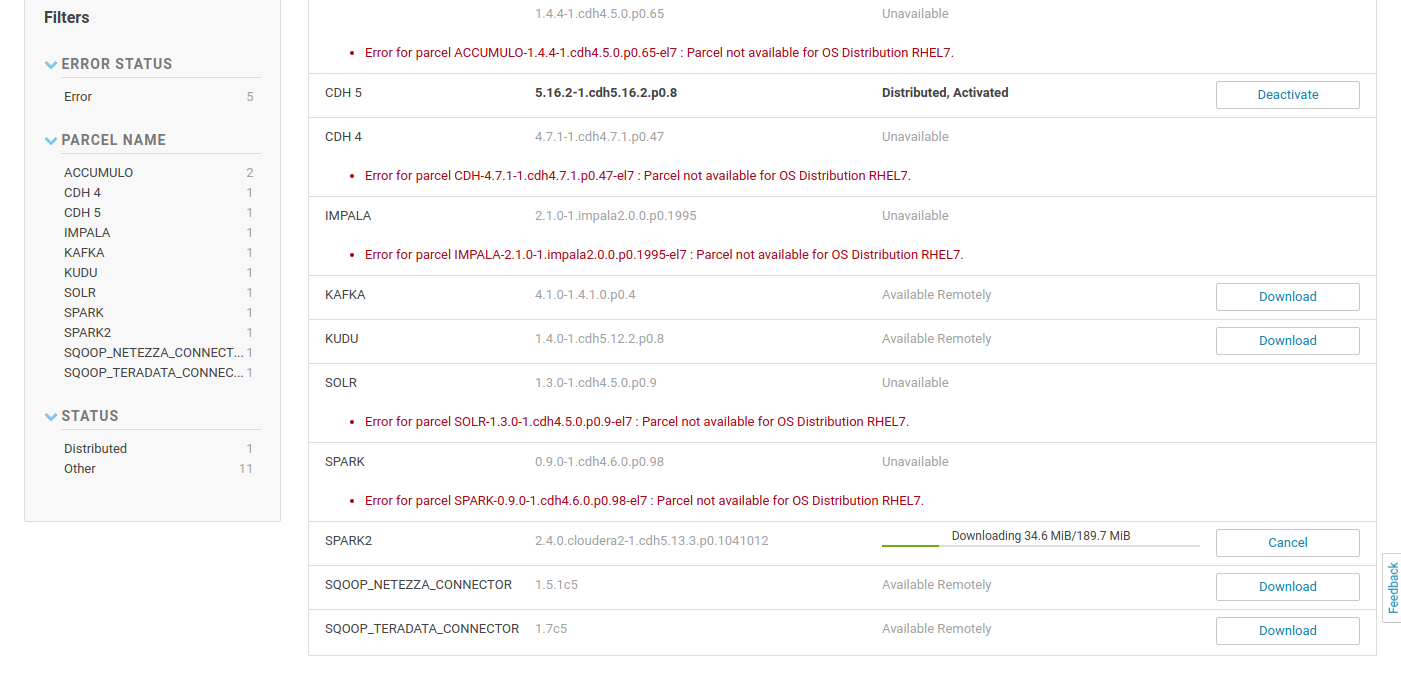
SPARK2 --> Download --> Distribute --> Activate
Cloudera manager --> Add Service
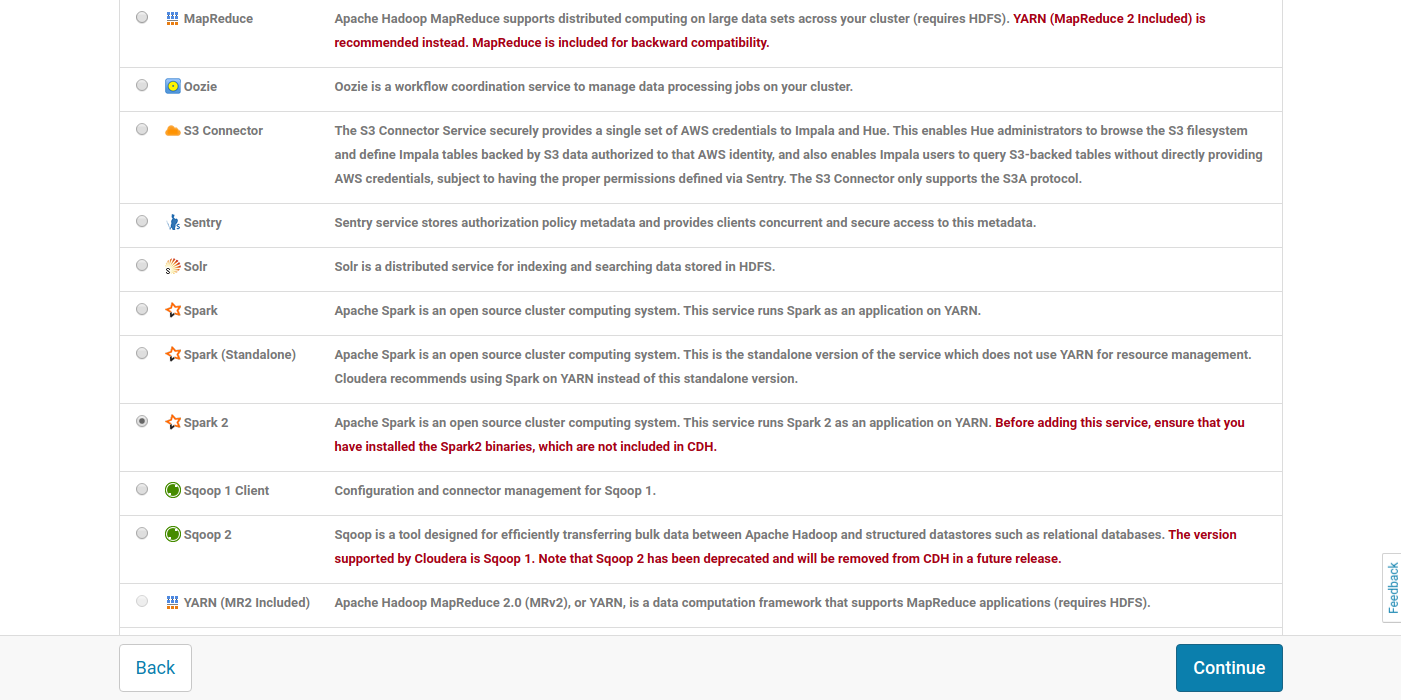
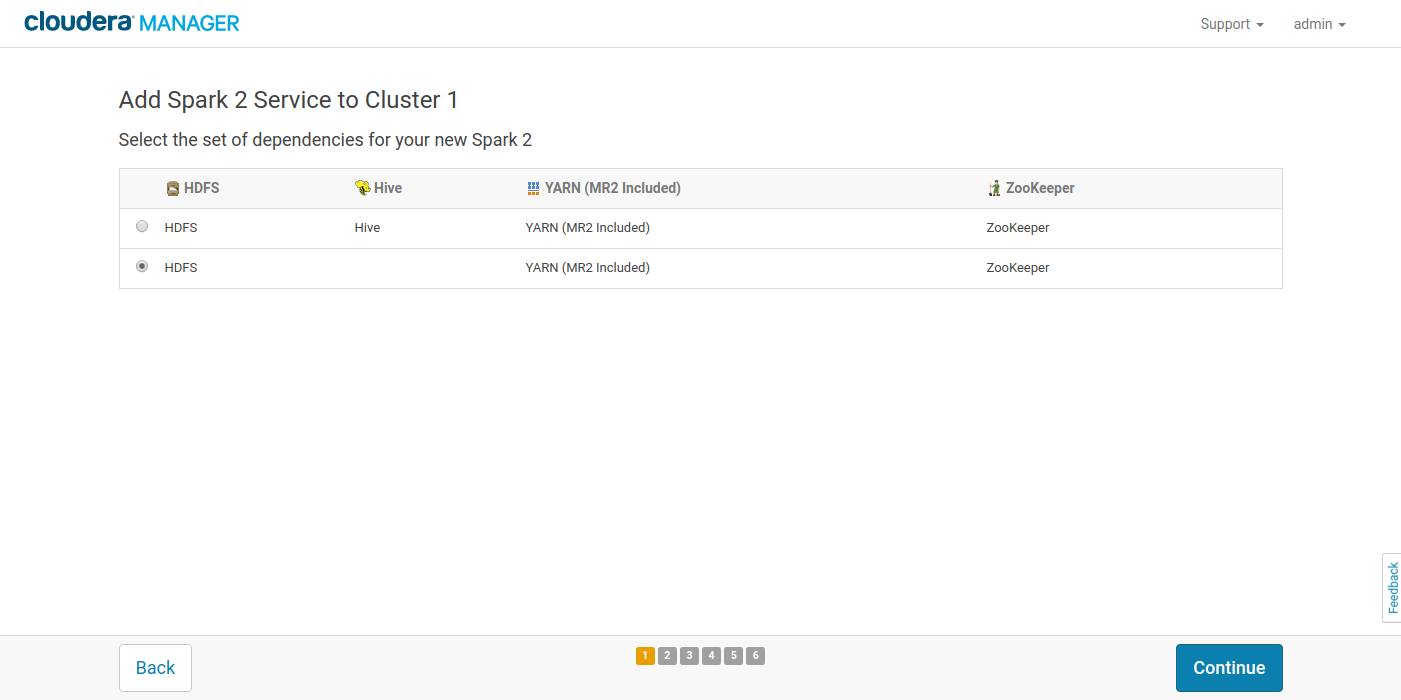
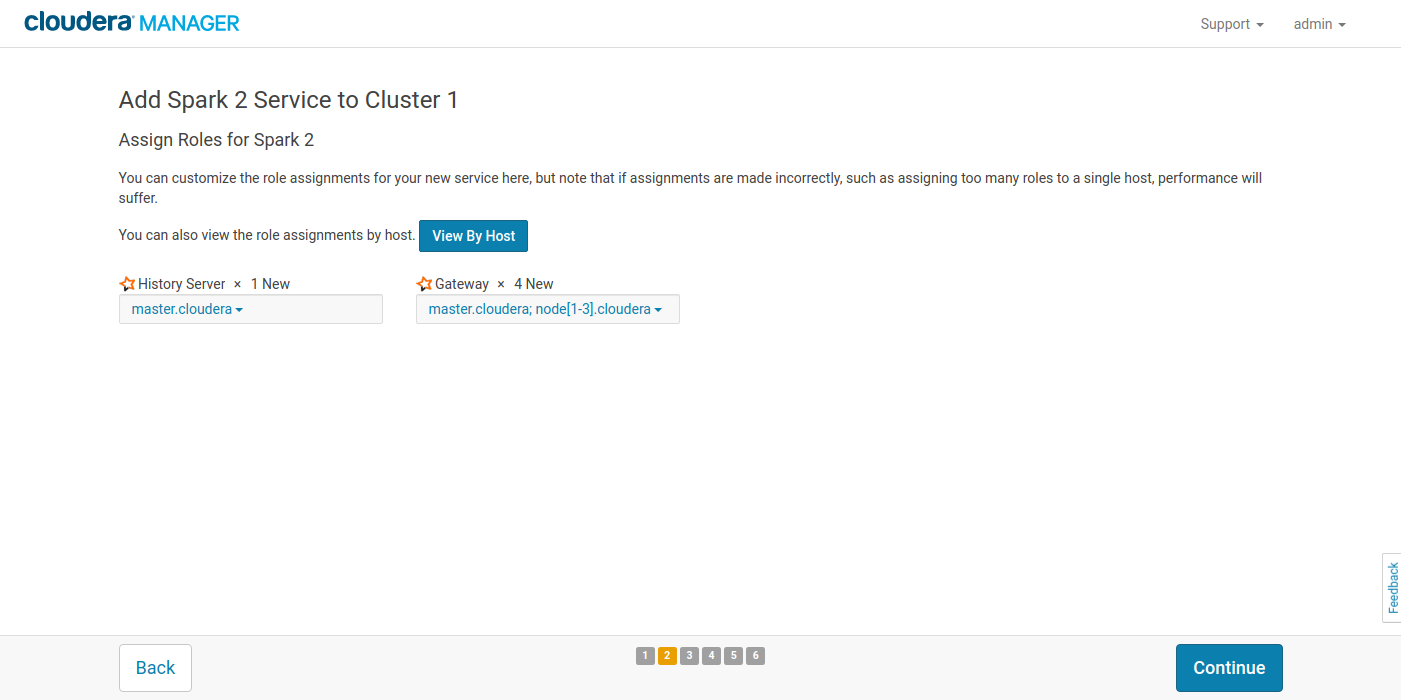


Please check the values of ‘yarn.scheduler.maximum-allocation-mb’ and/or ‘yarn.nodemanager.resource.memory-mb’.
yarn-conf/yarn-site.xml


# su hdfs

$ pyspark2
Welcome to
      ____              __
     / __/__  ___ _____/ /__
    _\ \/ _ \/ _ `/ __/  '_/
   /__ / .__/\_,_/_/ /_/\_\   version 2.4.0.cloudera2
      /_/
$ spark2-shell
Welcome to
      ____              __
     / __/__  ___ _____/ /__
    _\ \/ _ \/ _ `/ __/  '_/
   /___/ .__/\_,_/_/ /_/\_\   version 2.4.0.cloudera2
      /_/

Using Scala version 2.11.12 (Java HotSpot(TM) 64-Bit Server VM, Java 1.8.0_121)
Type in expressions to have them evaluated.
Type :help for more information.
IPython: Supercharge Your PySpark Shell
A great improvement in functionality is through the use of IPython, which gives you typeahead and the ability to run commands among other features. To install and enable IPython you can install the 5.x LTS (long term support), which can be done simpler by installing Anaconda which provides some of the most popular Python packages, including IPython.
To get Anaconda you can:
Navigate to the parcel page Click on Configuration Below the cdh5 parcels insert a new row by clicking the + and Save Changes Look for the Anaconda parcel entry and click on Download. It is reasonably large, so might take some time Once it has been downloaded, click on Distribute and then Activate
Anaconda 4.3.1
Now you need to restart stale services.
Next, there are a couple of files that you may need to modify, namely the following: vi /opt/cloudera/parcels/CDH-5.13.1-1.cdh5.13.1.p0.2/etc/spark/conf.dist/spark-env.sh
And add
export PYSPARK_PYTHON=/opt/cloudera/parcels/Anaconda/bin/python
export PYSPARK_DRIVER_PYTHON=/opt/cloudera/parcels/Anaconda/bin/ipython
export PATH=/opt/cloudera/parcels/Anaconda/bin:$PATH
export JAVA_HOME=/usr/java/jdk1.8.0_121-cloudera
Modify .bashrc for your user su hdfs vi ~/.bashrc
export PYSPARK_DRIVER_PYTHON=/opt/cloudera/parcels/Anaconda/bin/ipython export PYSPARK_PYTHON=/opt/cloudera/parcels/Anaconda/bin/python export PATH=/opt/cloudera/parcels/Anaconda/bin:$PATH export JAVA_HOME=/usr/java/jdk1.8.0_121-cloudera
Now open pyspark2 and confirm that you have IPython by testing autocomplete and executing a shell command directly from the REPL